Top 7 tips for beginners
Watercolor is a amazing medium. It´s affordable, easy to start with, easy to carry around with you and most importantly you can get beautiful pieces quite easily. It is purely a beginner friendly medium.
Here are my 7 tips for you if you have decided to start your personal journey with watercolors.
1.PAINT
Buy the best you can afford. Quality is key. Try to get the best your budget allows you to. Basically the more the watercolors cost the more pigment they have in them and that directly affects the quality of your work. You´ll get vibrant and saturated results. It´s worth spending the money. I myself started with a Schmincke Akademie 1/2 pan set of 10. Another great set for beginners is the Winsor and Newton Cotman set of 12 half pans.
2.PAPER
My recommendation with paper is to always get 300gsm or higher watercolor paper. This weight will hold the water properly without buckling.
I do not work on the most expensive papers. I recommend 300gsm cold pressed paper in sheets, pad or blocks. Cold pressed has a texture to it which I personally like very much. It adds texture to my pieces. If you would rather not have this texture go for hot pressed.
There are many manufacturers of paper. I suggest you stick with Arches, Fabriano and Canson.
There are obviously higher quality papers than these but I find the quality of these brands to be high and the cost reasonable. I recommend you find the one that works for you by giving them a try.
3.BRUSHES
Brushes are very much a personal choice. Depending on what your style is you´ll need thinner or thicker brushes. As a start I recommend getting a set of three round synthetic brushes. A nr 2, nr 6 and nr 10. With these sizes you will cover the details with nr2 and the thicker elements and backgounds with nr6 and nr10. Make sure you get watercolor brushes. Once you begin your practice you will immediately have a better understanding of what your needs are.
If you have the time, I recommend you pop over to Jackson´s arts supplies online store and check out the variety of brushes, papers, paints you have available in the market right now. It´s fascinating!!

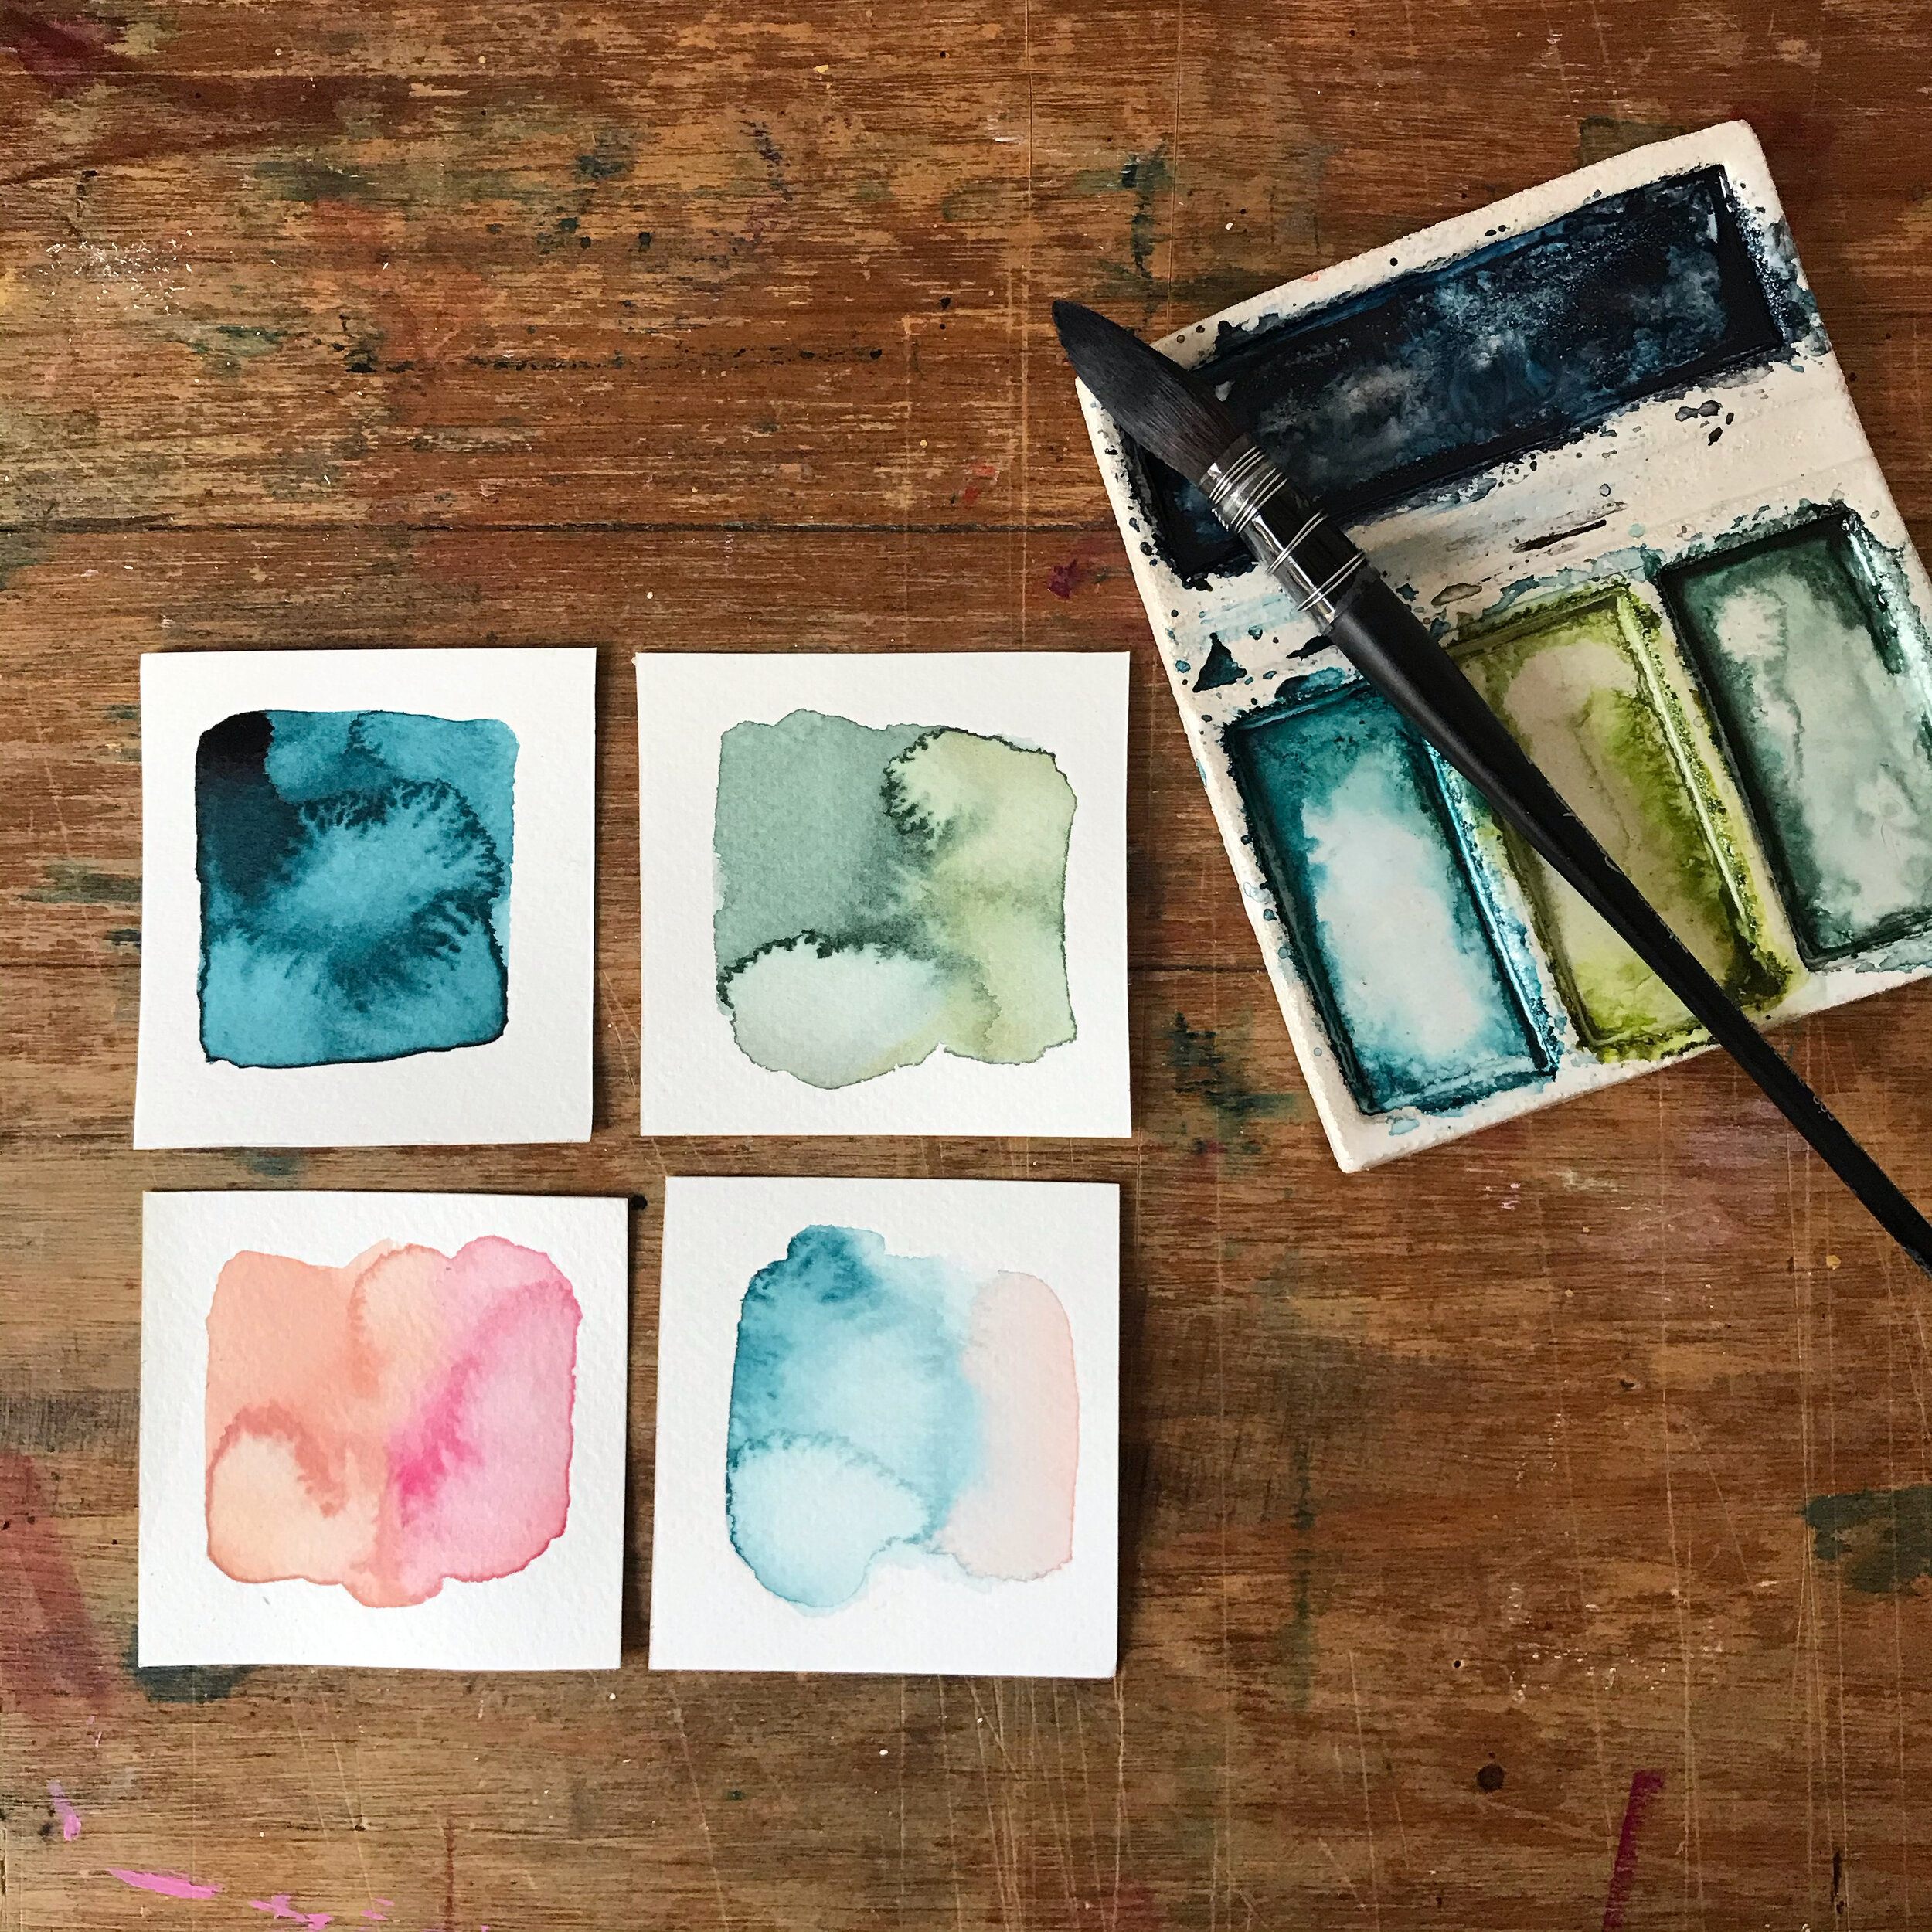
4.MIX, MIX, MIX
I mean. Get to know your palette. Get to know what you have in hand. Dedicate a few hours to activate your paints and literally play around with them. Mix in colors and see what results you get. You´ll be amazed. I can guarantee you´ll discover new colors with a unique hue and deepness. As an example I get my black using a dark navy blue and dark chocolate brown. Try it and you´ll see what I mean!
5.OTHER TOOLS
We have covered paint, paper and brushes. You will need a few more tools to start using your watercolors.
. Palettes. If you buy a watercolor set it will probably have a small section that you can use as a palette but you will quickly find yourself in the need for more space to mix your colors. I love ceramic palettes but I have to admit they are pricier and heavier than plastic ones. So for sure you will start by using a plastic one. They are much easier to carry around. You will find them in all sorts of shapes. Round, square, rectangular. These are the ones I am using the most right now.
. Water container. It can be anything. A plastic cup, an empty jam glass jar, an old mug. Have at least two with you. One to clear the paint of the brush, another to use when loading your clean brush with paint.
. Artist´s tape. Once you have a little experience, you might want yo try using artist´s tape on the edge of your paper. You will see once the paint is dry and you pull it off it gives your piece a more professional look.
. Spray bottle. I use it a lot but it is totally optional. Find yourself a spray bottle, fill it up with clean water and spray your palette with it to activate your watercolors. As I say, this is totally optional but I find it very helpful and fast at the beginning of my practice.
. Paper towel or cotton cloth. You´ll use it to dry your brushes every now and then. You will also use the paper towel to pick up the excess of water or paint off your paper.
. Hairdryer. Again this is optional. A hairdryer comes in handy when you need to accelerate the drying process of your work. You can also get some interesting effects by pushing the wet paint over the surface you are working on.

6.WORKING SPACE
Your working space is important. It has to be somewhere where you feel comfortable and where inspiration flows. It does not matter how big or small it is. It´s got to do with how you feel in the actual space. I have a whole article about setting up a nice working space for your creative space here. Check it out!
7.GET STARTED!!
Having said this, you just need to get started! You need to practice and do not get discouraged by the first results. Practice makes perfect! The good news is that it does not have to be perfect! It just needs to make you happy and have you enjoying the process.
I will give you a last tip. When you actually get started and you are not really convinced with the result, just put it to one side, let the piece dry and go back to it the next morning. I can guarantee you will like it a lot more. It´s happened to me tons of times!
Now, get to it and thanks for reading me :)
Much love
Kristina